
Getting Crafty with Cane
Christine’s DIY Hack for Cane Furniture

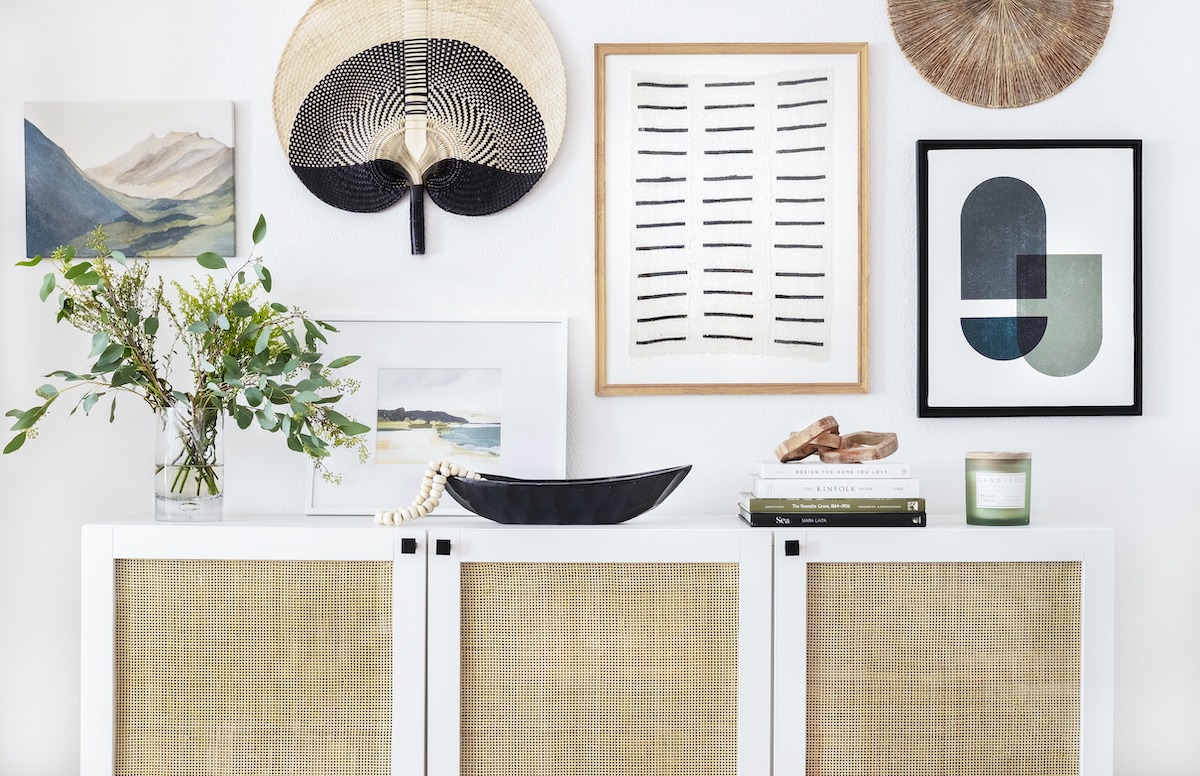
If there is an interior design trend that has dominated for the past few years, it’s definitely cane. And it’s not hard to understand why. Natural materials such as rattan, wicker, and cane create an earthy, light, and airy feeling in a home while still being modern and stylish. Cane has reigned supreme, possibly for its ability to blend in with so many different decor styles and design eras. I’m a sucker for its organic look and, even more important, its sustainable nature.

When California shut down in March 2020, I found myself wanting to redecorate my home but couldn’t justify the expense. Instead, I researched ways to add cane webbing to an existing piece of furniture to hack my way into creating the look I wanted.
After watching a few online DIY video tutorials, I decided I was up for the task of transforming my plain sideboard into a statement piece. Here’s my step-by-step guide to add cane webbing to the glass-paneled doors.
To get started, you’ll need:
- Media cabinet or sideboard with clear glass doors
- Cane webbing
- Measuring tape
- Scissors
- Sink, bucket or bathtub, and a towel
- Staple gun with staples
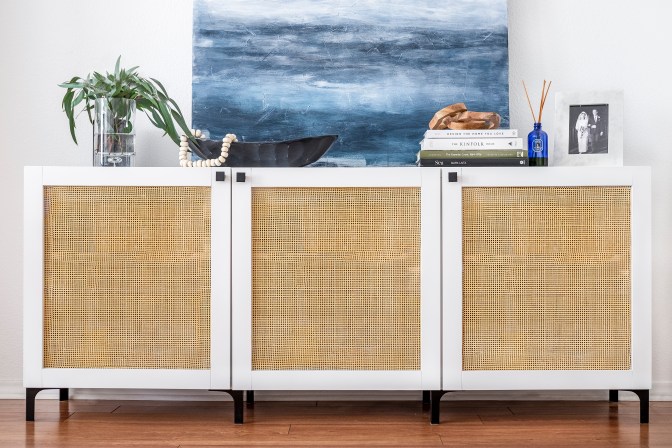
Step 1: Select and prepare the piece of furniture you’ll use for the project. Assuming you’re adding cane webbing to a cabinet with glass doors, like I did, remove the doors and measure the area to be covered with the webbing. We decided to keep the clear glass in place on the cabinet door and add the webbing to the interior (back) side of the door.
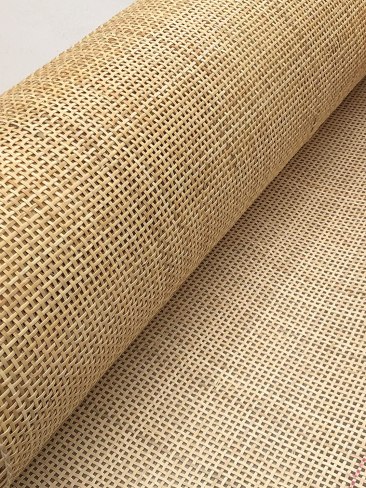
Step 2: Determine the type of cane you’ll use. Cane webbing comes in different weave patterns; the two most popular are hexagonal and radio weave. The hexagonal cane is easily recognizable for its geometric pattern, while radio-weave cane is a simple one over, one under pattern. I loved the tight weave of the radio cane, so I found an online seller and purchased the amount needed for my project.
Step 3: Once you’re ready to begin, cut the cane webbing about two inches larger than the glass panel. In other words, if the glass is 32 inches by 16 inches, cut the cane to 34 inches by 18 inches.
Step 4: Soak the cane in warm water for 20 minutes. By getting the fibers of the cane wet, the webbing becomes more pliable. Remove from the water and lay it on a towel, then cover with another towel and press down to absorb as much water as possible.
Step 5: Lay the damp cane in place on the cabinet door and staple the top side using your staple gun. Once you’ve attached the webbing at the top, pull the piece of webbing to the bottom (opposite side) and staple in place. Don’t use too much force to stretch the cane but do try to get it as flat and even as possible.
Step 6: Repeat step five to attach the left and right sides of the webbing.
Step 7: Wait about 20-30 minutes for the cane to start drying. As it begins to dry, the fibers shrink, causing the webbing to tighten and lie flat.
Step 8: Cut the excess cane off the sides with scissors and reattach the doors.
Voilà … you’re done! I’d LOVE to see your DIY projects. Tag me on Instagram @styledandstagedsb and show me your creations!
Christine Cowles is owner of Styled & Staged Santa Barbara, offering home staging and interior styling services. She is a certified Staging Design Professional™, member of Santa Barbara Association of Realtors and Real Estate Staging Association, and a proud WEV graduate. She can be reached at info@styledandstagedsb.com.
Support the Santa Barbara Independent through a long-term or a single contribution.


You must be logged in to post a comment.